Here’s some instructions (note I’ve enabled OpenVPN for the customer, so you can skip the first screenshot):
Secure 2-Factor Remote User VPNs using OpenVPN
PCI DSS requires all users who want remote access to the PCI network to use secure 2-factor authentication. We now support this using OpenVPN, a free VPN solution that is available for all major operating systems and smart phones. You will need to install an OpenVPN client on your computer/phone. There are open source OpenVPN clients such as ‘OpenVPN Connect’, and there’s also a reasonably priced app called Viscosity for Windows and Mac that I recommend (https://www.sparklabs.com/viscosity/).
OpenVPN is disabled by default — another PCI requirement — but can be quickly enabled:
* Go to Configure : VPN : Remote Access : OpenVPN Settings. Click ‘On’ and save.
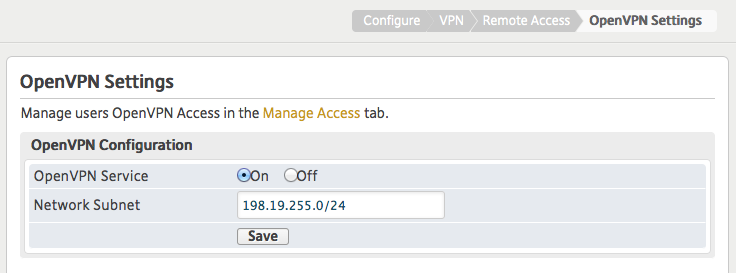
Ignore the network subnet, it’s where remote clients will be assigned an IP. It’s intentionally NOT the same as the LAN subnet you want to grant access to, that comes next:
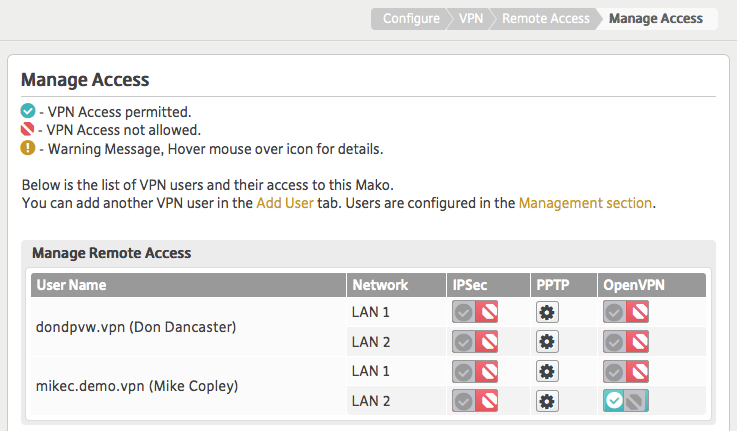
* Go to Configure : VPN : Remote Access : Manage Access and toggle each LAN the user should be able to access.
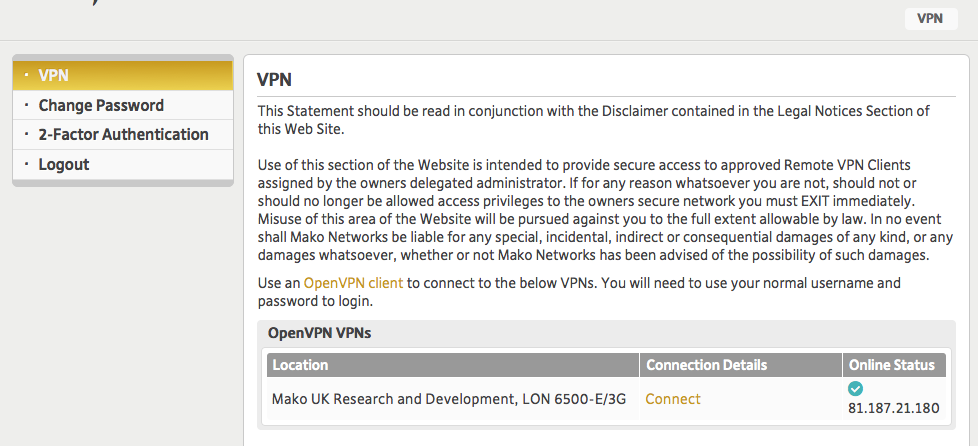
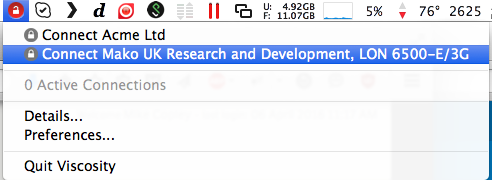
The VPN user can now log into the CMS and click ‘Connect’ to download a VPN configuration file. This only needs to be done once if the Mako has a static IP; if the Mako is on a dynamic IP the user will either need to download a new config when the IP changes, change the IP themselves in the OpenVPN client, or use a Dynamic DNS service with the Mako (e.g. no-ip.com or dyndns.org).
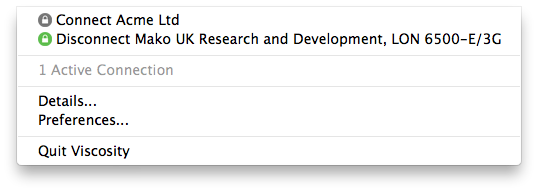
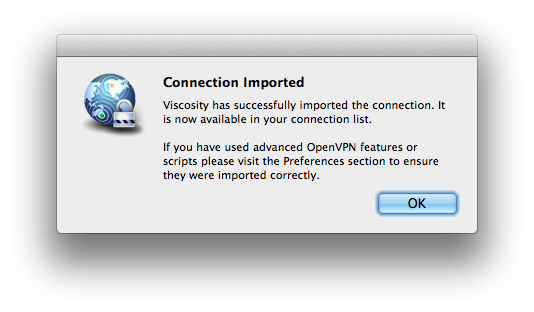
Your browser should prompt you to open the config in Viscosity or whatever OpenVPN client you are using. If it doesn’t, just double-click on it.
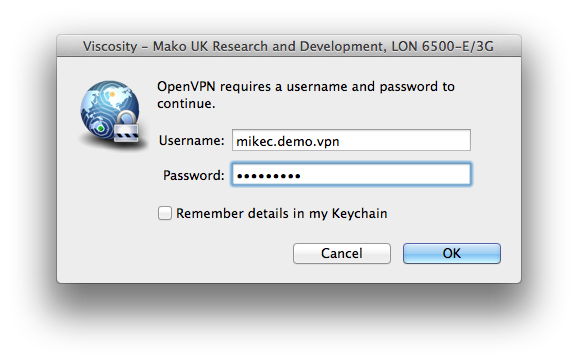
When you connect it will prompt for a user/password, just use the same user/password that you used to log into the CMS.
It may take up to a minute to connect, normally a lot less. Once connected, you can access any of the resources behind the Mako’s LANs in a secure fashion.
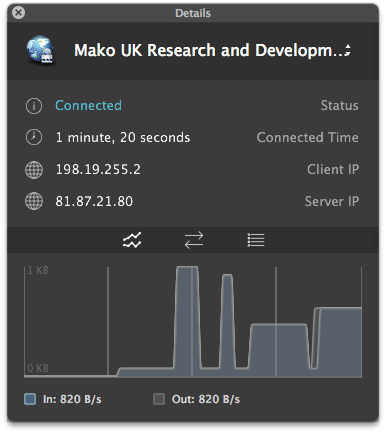
Once done, disconnect the client (it will time out eventually if you forget) and you’re done.